In a move that could redefine how millions work, Microsoft is steering Word users toward the cloud, sparking debates over convenience, control, and the future of local storage.
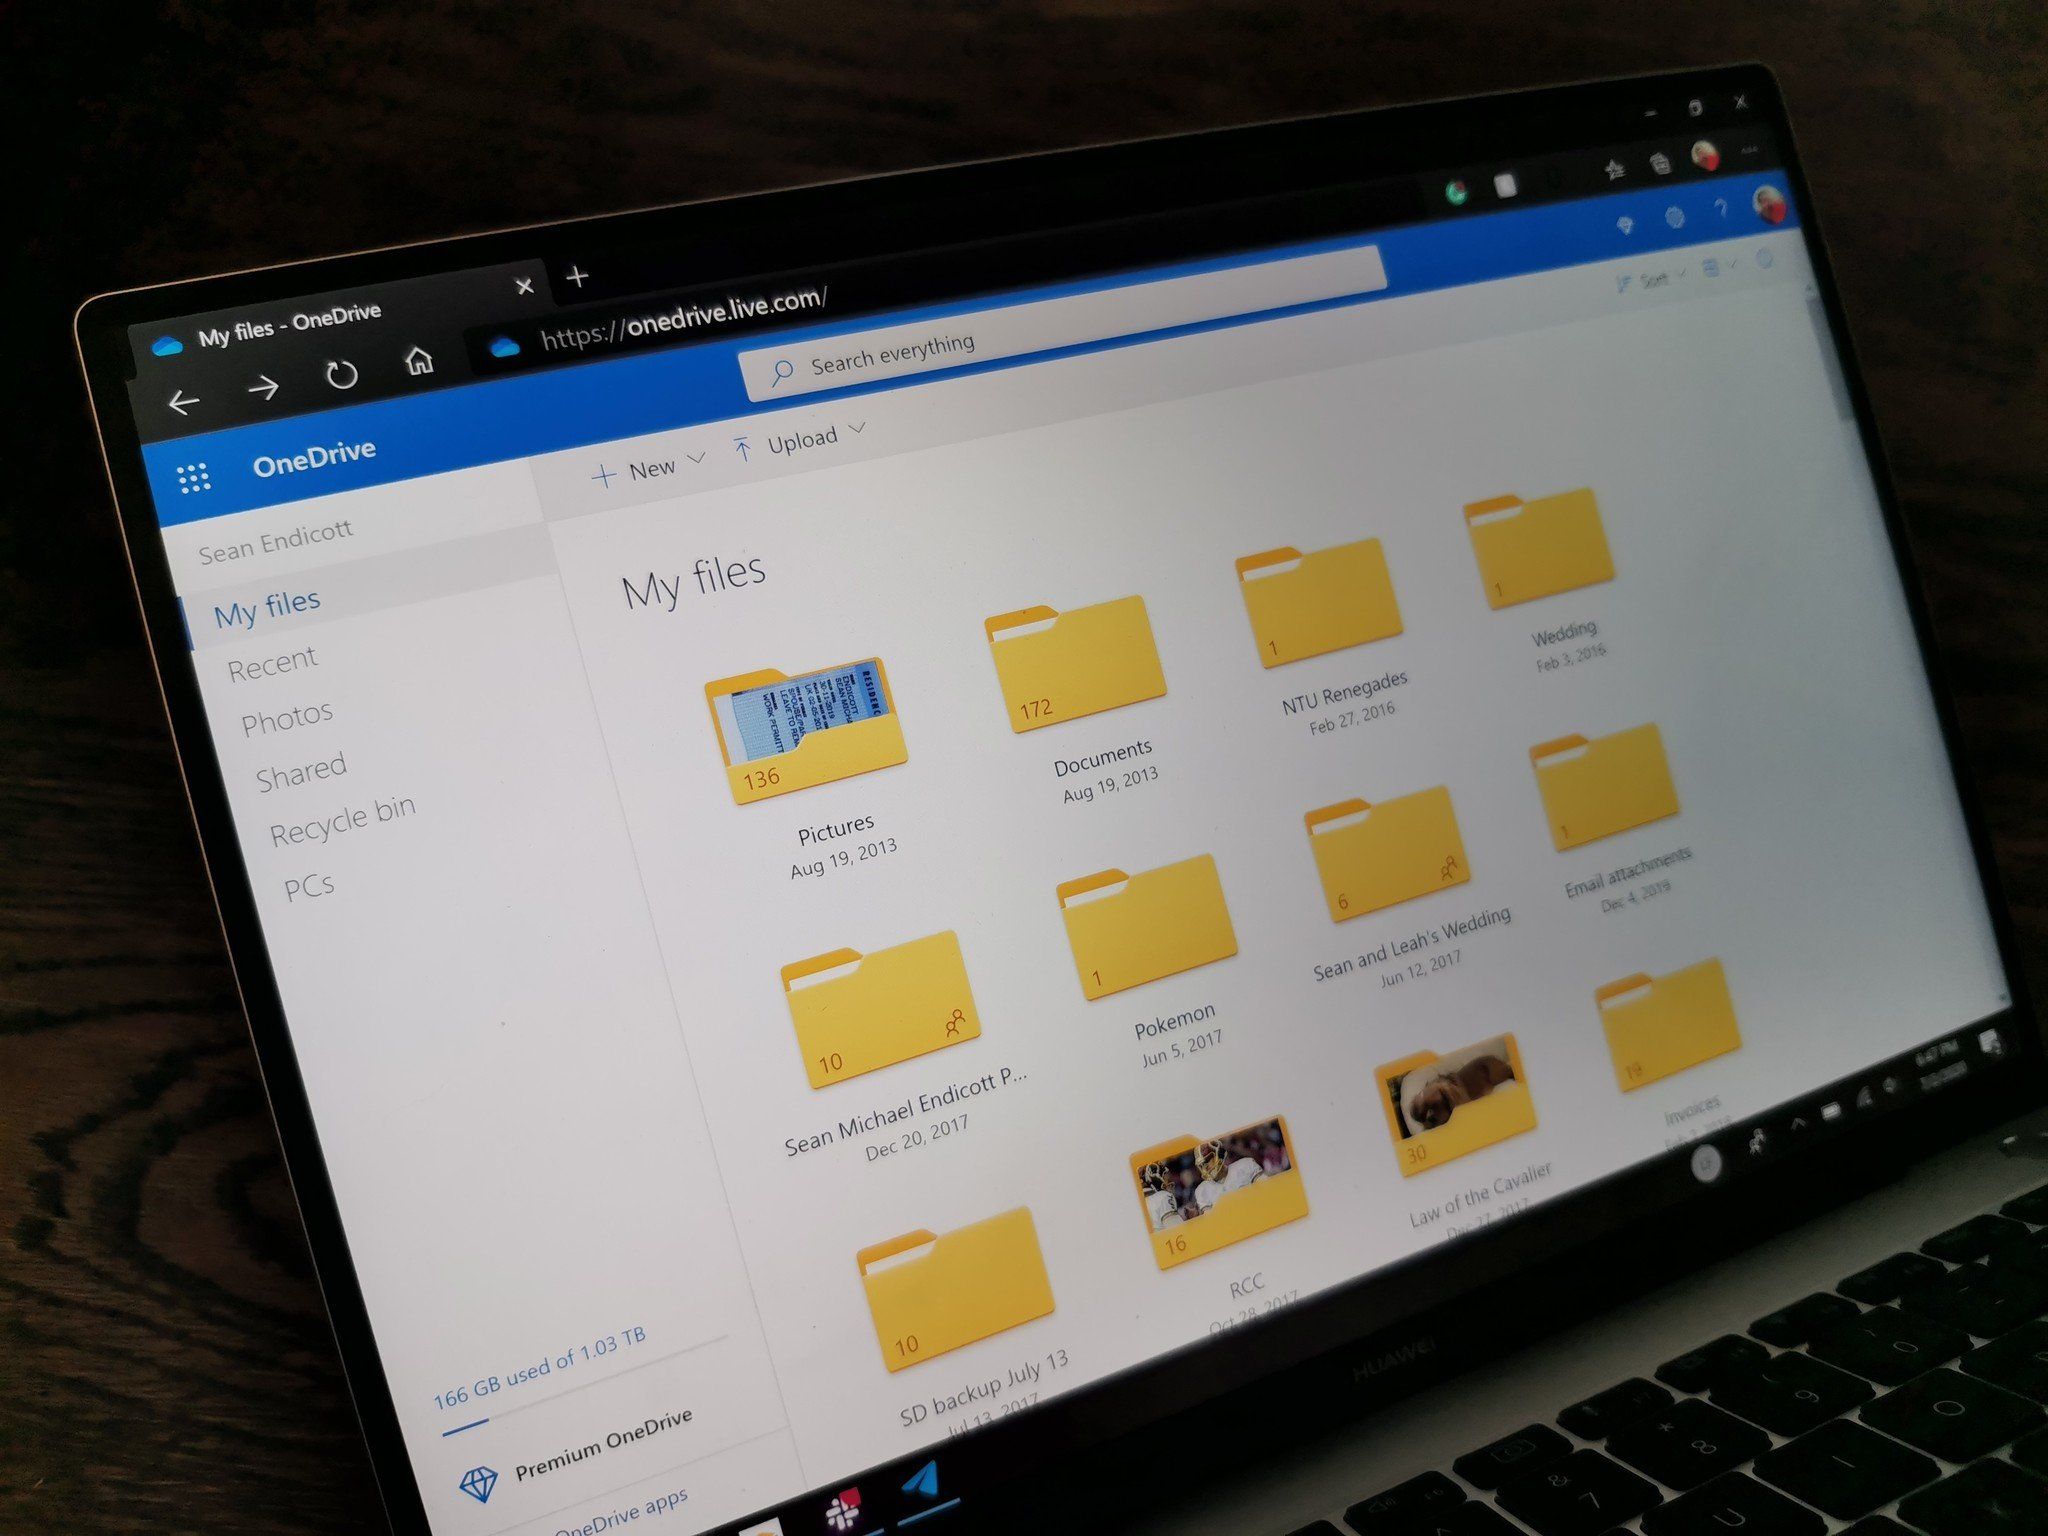
Microsoft Word logo in Windows 11 Search. Word and OneDrive just got a lot closer. (Image credit: Windows Central) Microsoft held a special OneDrive and Copilot event today where it announced a number of new features for the cloud-storage service. Buried in the announcements is one change that Microsoft is soon making to Word that might ruffle some feathers among those who are still pushing back against OneDrive and the cloud.
“Starting today, new documents in Word desktop on Windows (Insiders) now save directly to OneDrive, with autosave enabled,” says Microsoft. This means that creating new documents in Word in the future will automatically save said documents to your OneDrive storage, with autosave enabled from the get-go.
The change is designed to make it easier for users to back up and access their documents across devices, but some might find Word attempting to automatically upload documents to the cloud by default to be a privacy concern. Many will likely not even notice that Word’s behavior has changed, as the entire saving and backup process is automatic.


Kindly asking for a tutorial.
Well here we are 9 days later, my bad.
Didn’t want to write it out, so here is a LLM writing it more succinctly than myself:
Windows 10 Option 1: Using Settings
Press Windows + I to open Settings.
Click Apps.
Under Apps & features, scroll through the list or use the search box to find the program you want to remove.
Click the program, then click Uninstall.
Follow the prompts from the program’s uninstaller to complete the removal.
Option 2: Using Control Panel
Press Windows + R, type control, and press Enter to open Control Panel.
Click Programs → Programs and Features.
Scroll through the list to find the program you want to remove.
Right-click the program and select Uninstall.
Follow the uninstallation wizard to complete the process.
Windows 11 Option 1: Using Settings
Press Windows + I to open Settings.
Click Apps from the left-hand menu.
Click Installed apps.
Scroll or search for the program you want to remove.
Click the three-dot menu (⋮) next to the app and select Uninstall.
Confirm by clicking Uninstall again and follow the program’s uninstaller prompts.
Option 2: Using Control Panel (same as Windows 10)
Press Windows + R, type control, and press Enter.
Click Programs → Programs and Features.
Select the program you want to uninstall.
Click Uninstall and follow the prompts.
The easiest way is firing up Chris Titus’ script on the Terminal, going to Tweaks and selecting the OneDrive removal script. I don’t endorse Chris Titus’ content… but the script does work well as an aggregator for a bunch of other scripts that you’d have a hard time finding or running yourself.